I was pretty apprehensive at first. For one, I don't actually have a projection screen. The one in my classroom that wasn't covering the whiteboard required about 50 lbs of force to keep open, and that just became too much of a hassle. We also needed a green screen to film Ninja News, so we decided to steal Sam's blueprint for just such a contraption.
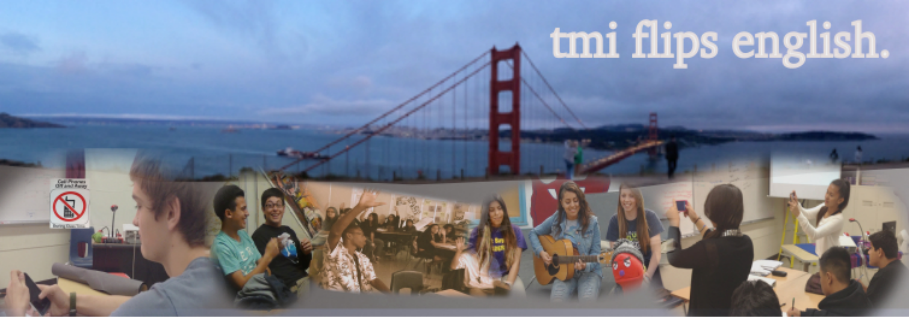
Originally, the students were supposed to design something akin to the one Sam built - aimed at elementary students. But the thing about having amazing and competent leadership students is that sometimes, they have better ideas. I completed handed the construction over to Mario, a member of my leadership class and with the help of several industrious freshmen, they completed it in under 40 minutes. Mario decided to take a chair and measure the top of the tallest leadership student when sitting. That became the front screen. Then the back screen was measured to have the green fabric completely cover it. What we ended up with is a huge 11 foot tall PVC green screen.
In our class, we are ALL ABOUT thinking creatively, so we found a piece of white fabric, pinned it to the green fabric we use for the green screen and used that to project the LCD onto. It has a few wrinkles (literally) but it works pretty well, and makes Ninja News super easy to film quickly.
So iPevo. I thought that the fact that we weren't using super reflective material would render the infrared sensors obsolete.
I wholly underestimated it. I made a video of myself using it, but I really wish I had captured the students clamouring to try the annotation function. They thought it was even more amazing than I found it to be.
From opening the box to using it was about 15 minutes. I taped the sensor to the top of my LCD, and it took a few minutes of adjusting and calibrating to get it right. Once that was done, it only requires a quick "Click on the crosshairs" to start it up each time. So 30 seconds and you're rolling. The sensor plugs in via a USB, which is really convenient, and the software runs with a little command bar right on the side of the desktop so I can always access it quickly. The pen/magic wand is light but also weighty enough that it is comfortable to write with it. The only downside to my current setup is that I can't use the pen directly - I have to press the button to make it work (if I was on a whiteboard or hard surface, just touching the tip of the pen would suffice). But that's really not a big deal. At all.
The annotation function allows you to draw over anything on the screen and capture it as an image on your computer. So students could be marking something up and you can save that and add it to their digital portfolio really easily. You can also mask part of the screen and draw simple shapes.
Plus: Hitler mustaches and devil horns for everyone. #winning #mustachesdriveengagement
Here's the bottom line - for under $200, I have a green screen, a projection screen, and a SMARTBoard. I can have kids demonstrating thinking on it. I can have them correct DOLs. I can have them create a class meme. I can have them display their work and give critical feedback live in front of them. I can change slides while still pointing at the screen.
Now, I don't necessarily see the point in putting a SMARTBoard in a classroom. It's really just a fancy chalkboard the way most teachers use it at the secondary level. But part of that is that it's prohibitively expensive. It is far too expensive to be used as a glorified chalkboard.
However, this device is making me reconsider what is possible. THAT is what I want good educational technology to do. Because I don't want my classroom to be teacher-centred, having this device immediately pushes me to "How can students use this to deepen their learning?"
I'm not sure that I know the answer to that. But it's now a question I get to consider, thanks to iPevo.
Here's a video of me demonstrating it, complete with my amazing PVC greenscreen/whiteboard:


 RSS Feed
